Add Console to Lightning Page
Awesome! Now that you've installed GPTfy in your Salesforce org and have an idea about the cockpit, let's move on to the next step: adding the GPTfy console to your Lightning Page.
Before You Start
Make sure you’ve already completed these two key steps for the object where you’re adding the GPTfy Console:
- Data Context Mapping is configured
- At least one Prompt is created and marked active
If these are missing, the GPTfy console will not be visible even after adding the console in the lightning page when the object does not have the active data context mapping and prompt for it.
Configuration Steps
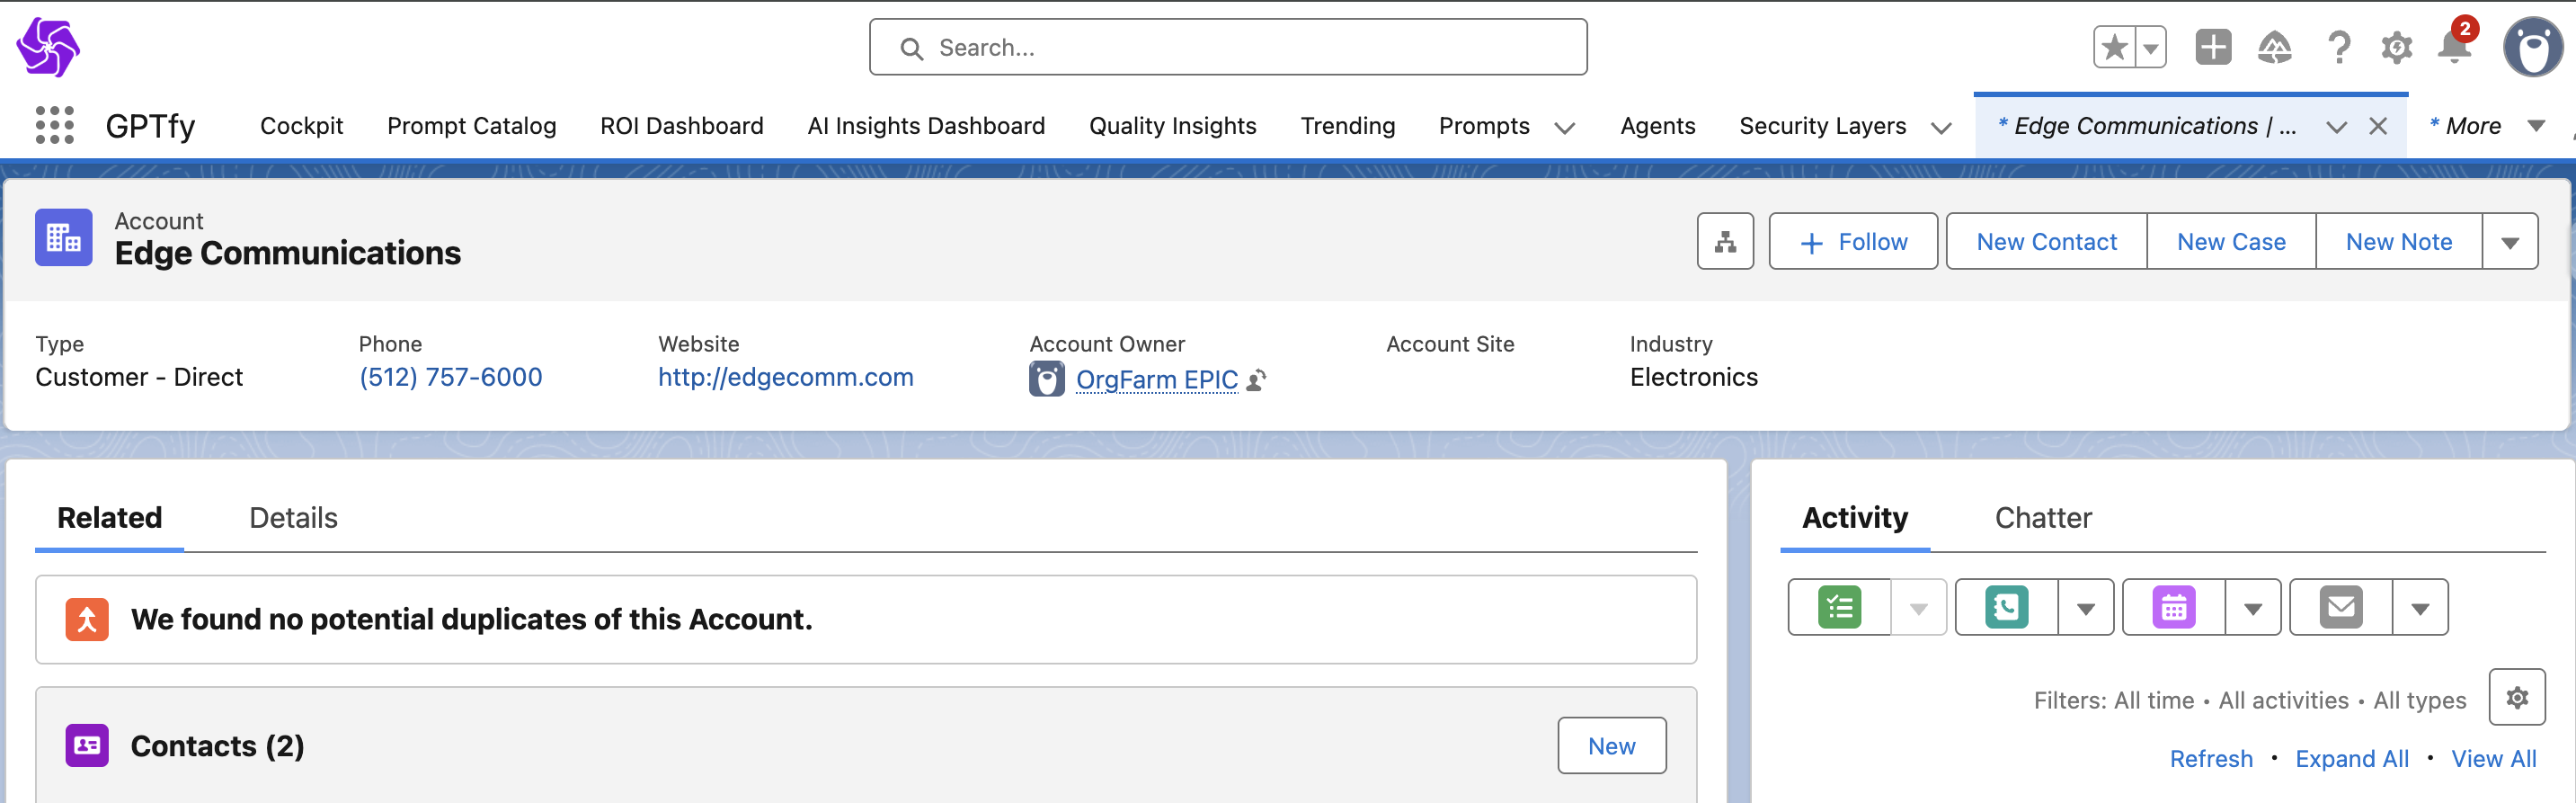
Step 1: Open any Salesforce Record
- Log in to your Salesforce org.
- Navigate to your desired object record page where you want to add the GPTfy console (e.g., Account).
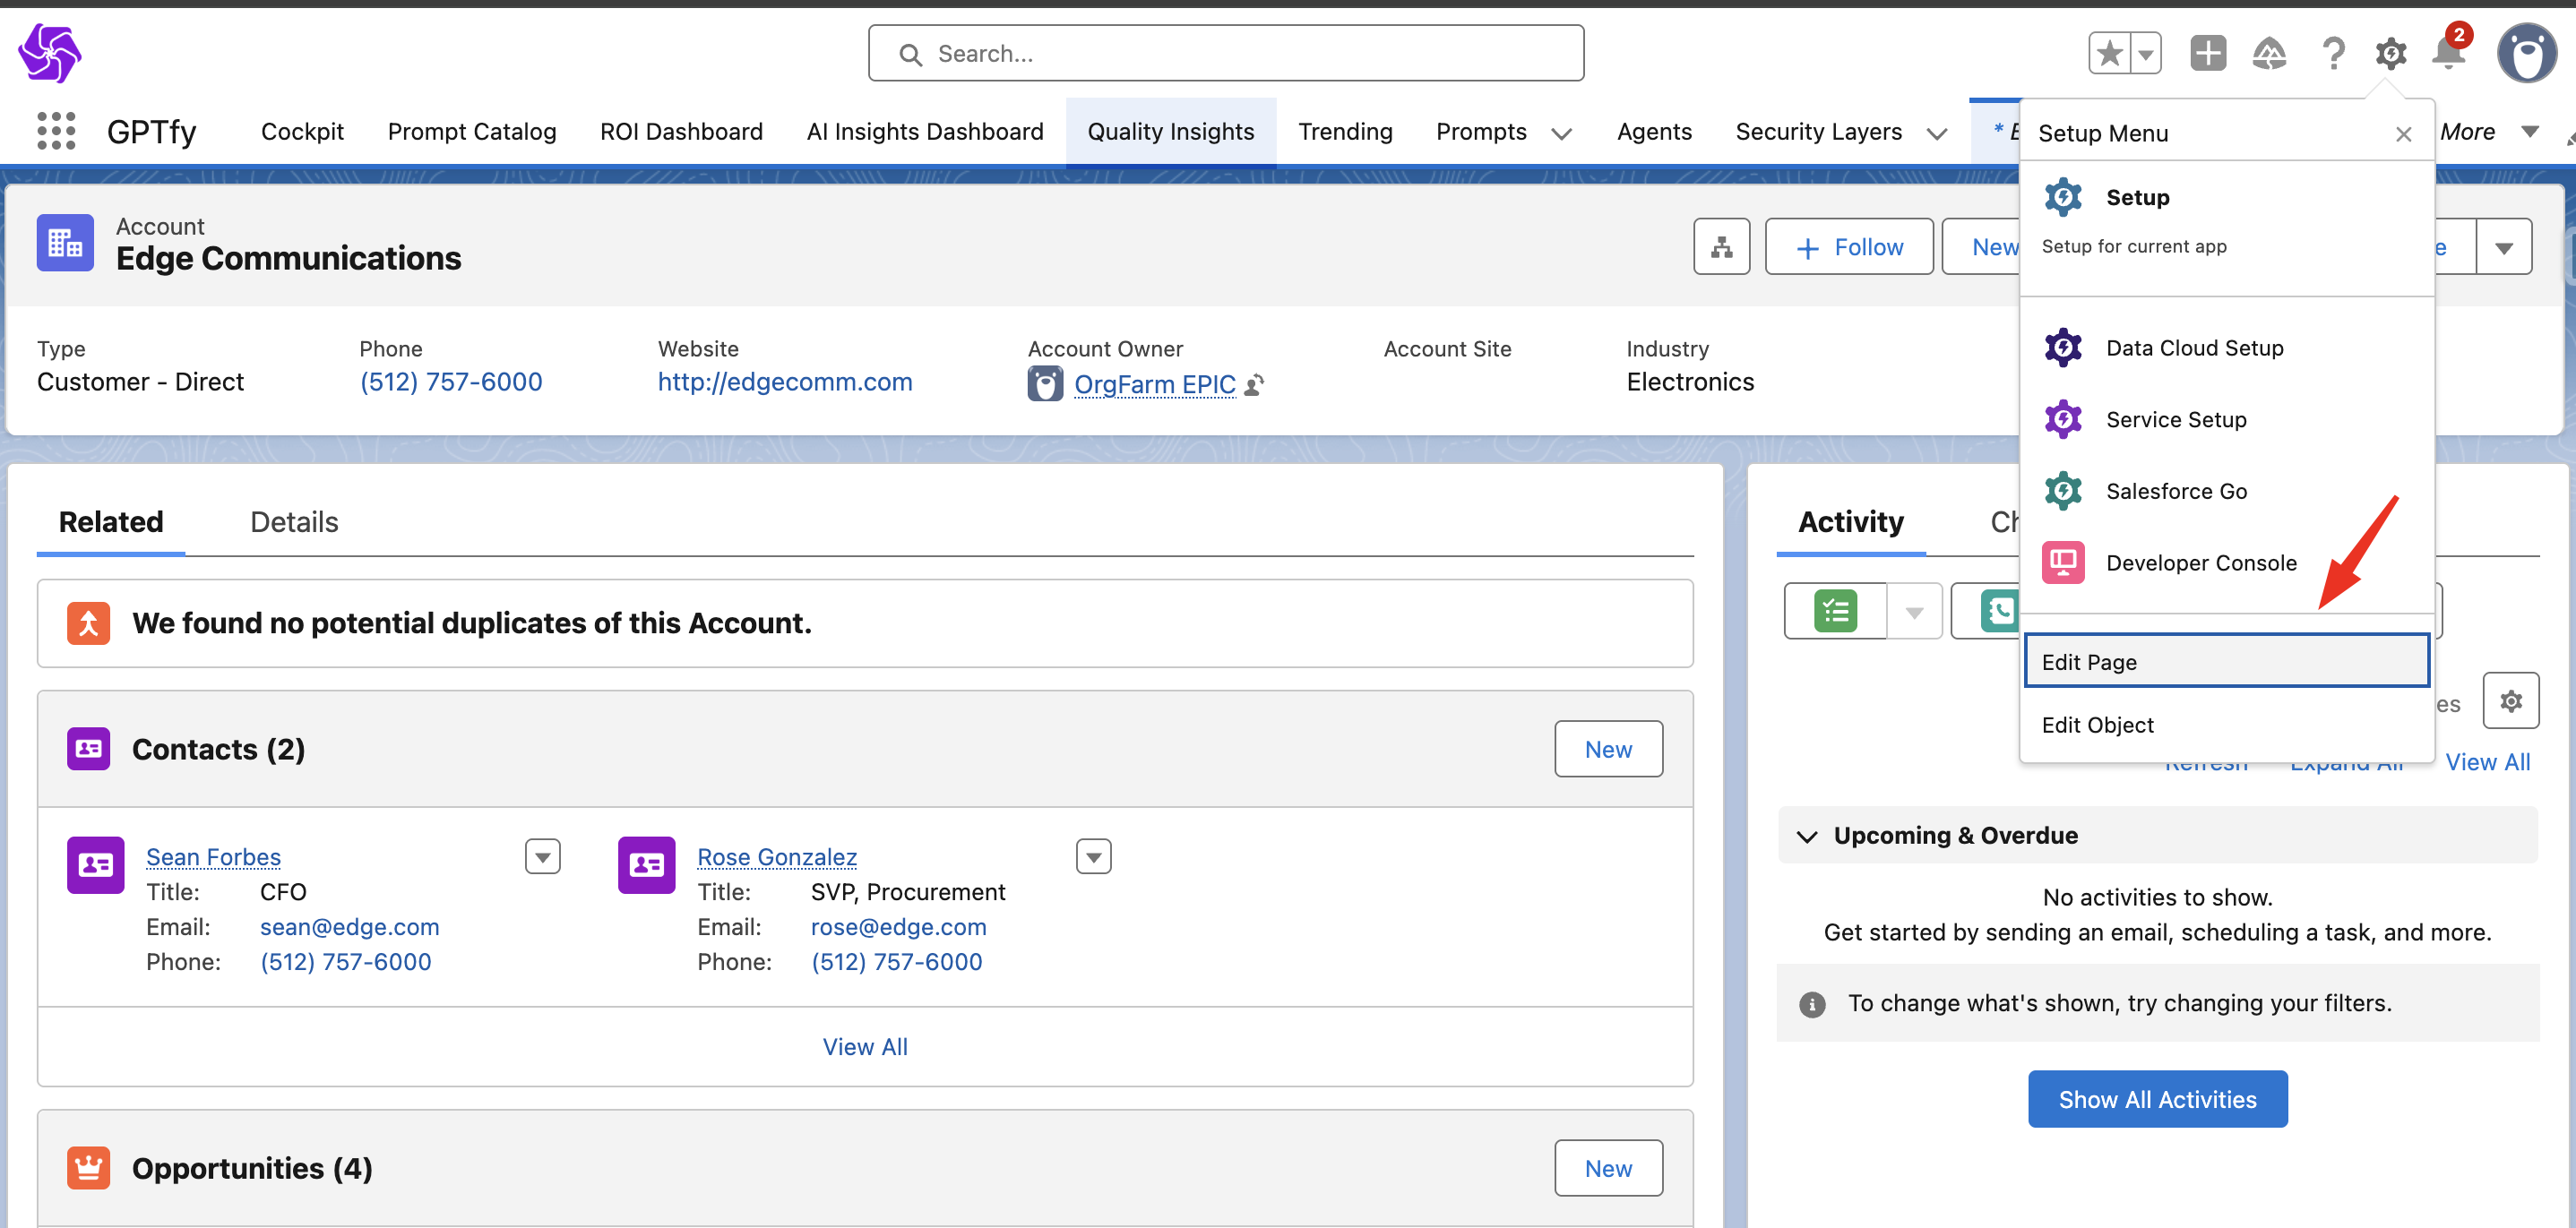
Step 2: Launch Lightning Page Editor
- Click the gear icon in the top-right corner.
- Select Edit Page to open the Lightning Page Editor.
Step 3: Add GPTfy Console
- In the left-hand components list, find the GPTfy Console (custom Lightning component).
- Drag and drop it into the Details section of the page layout.
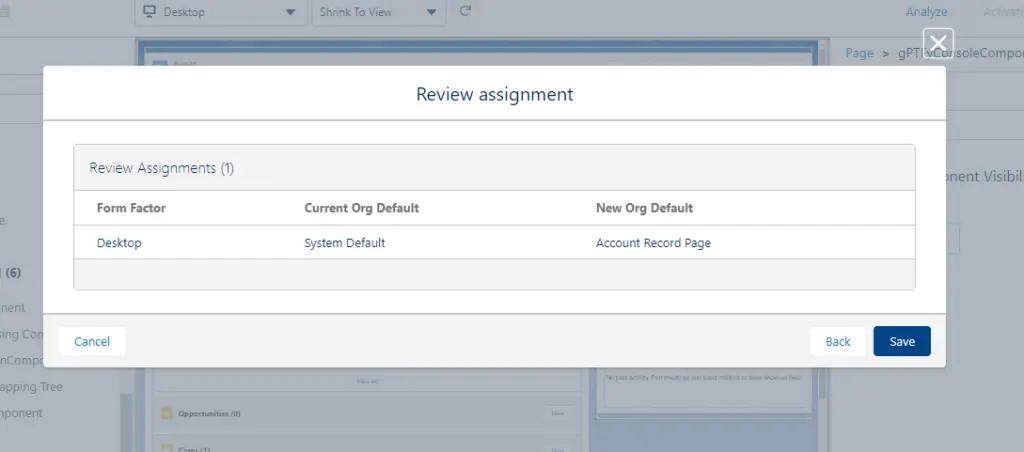
Step 4: Save and Activate
- Click Save in the top-right corner.
- Click Activate to set the page live.

- In the activation dialog:
- Choose Set as Org Default
- Click Save again to confirm
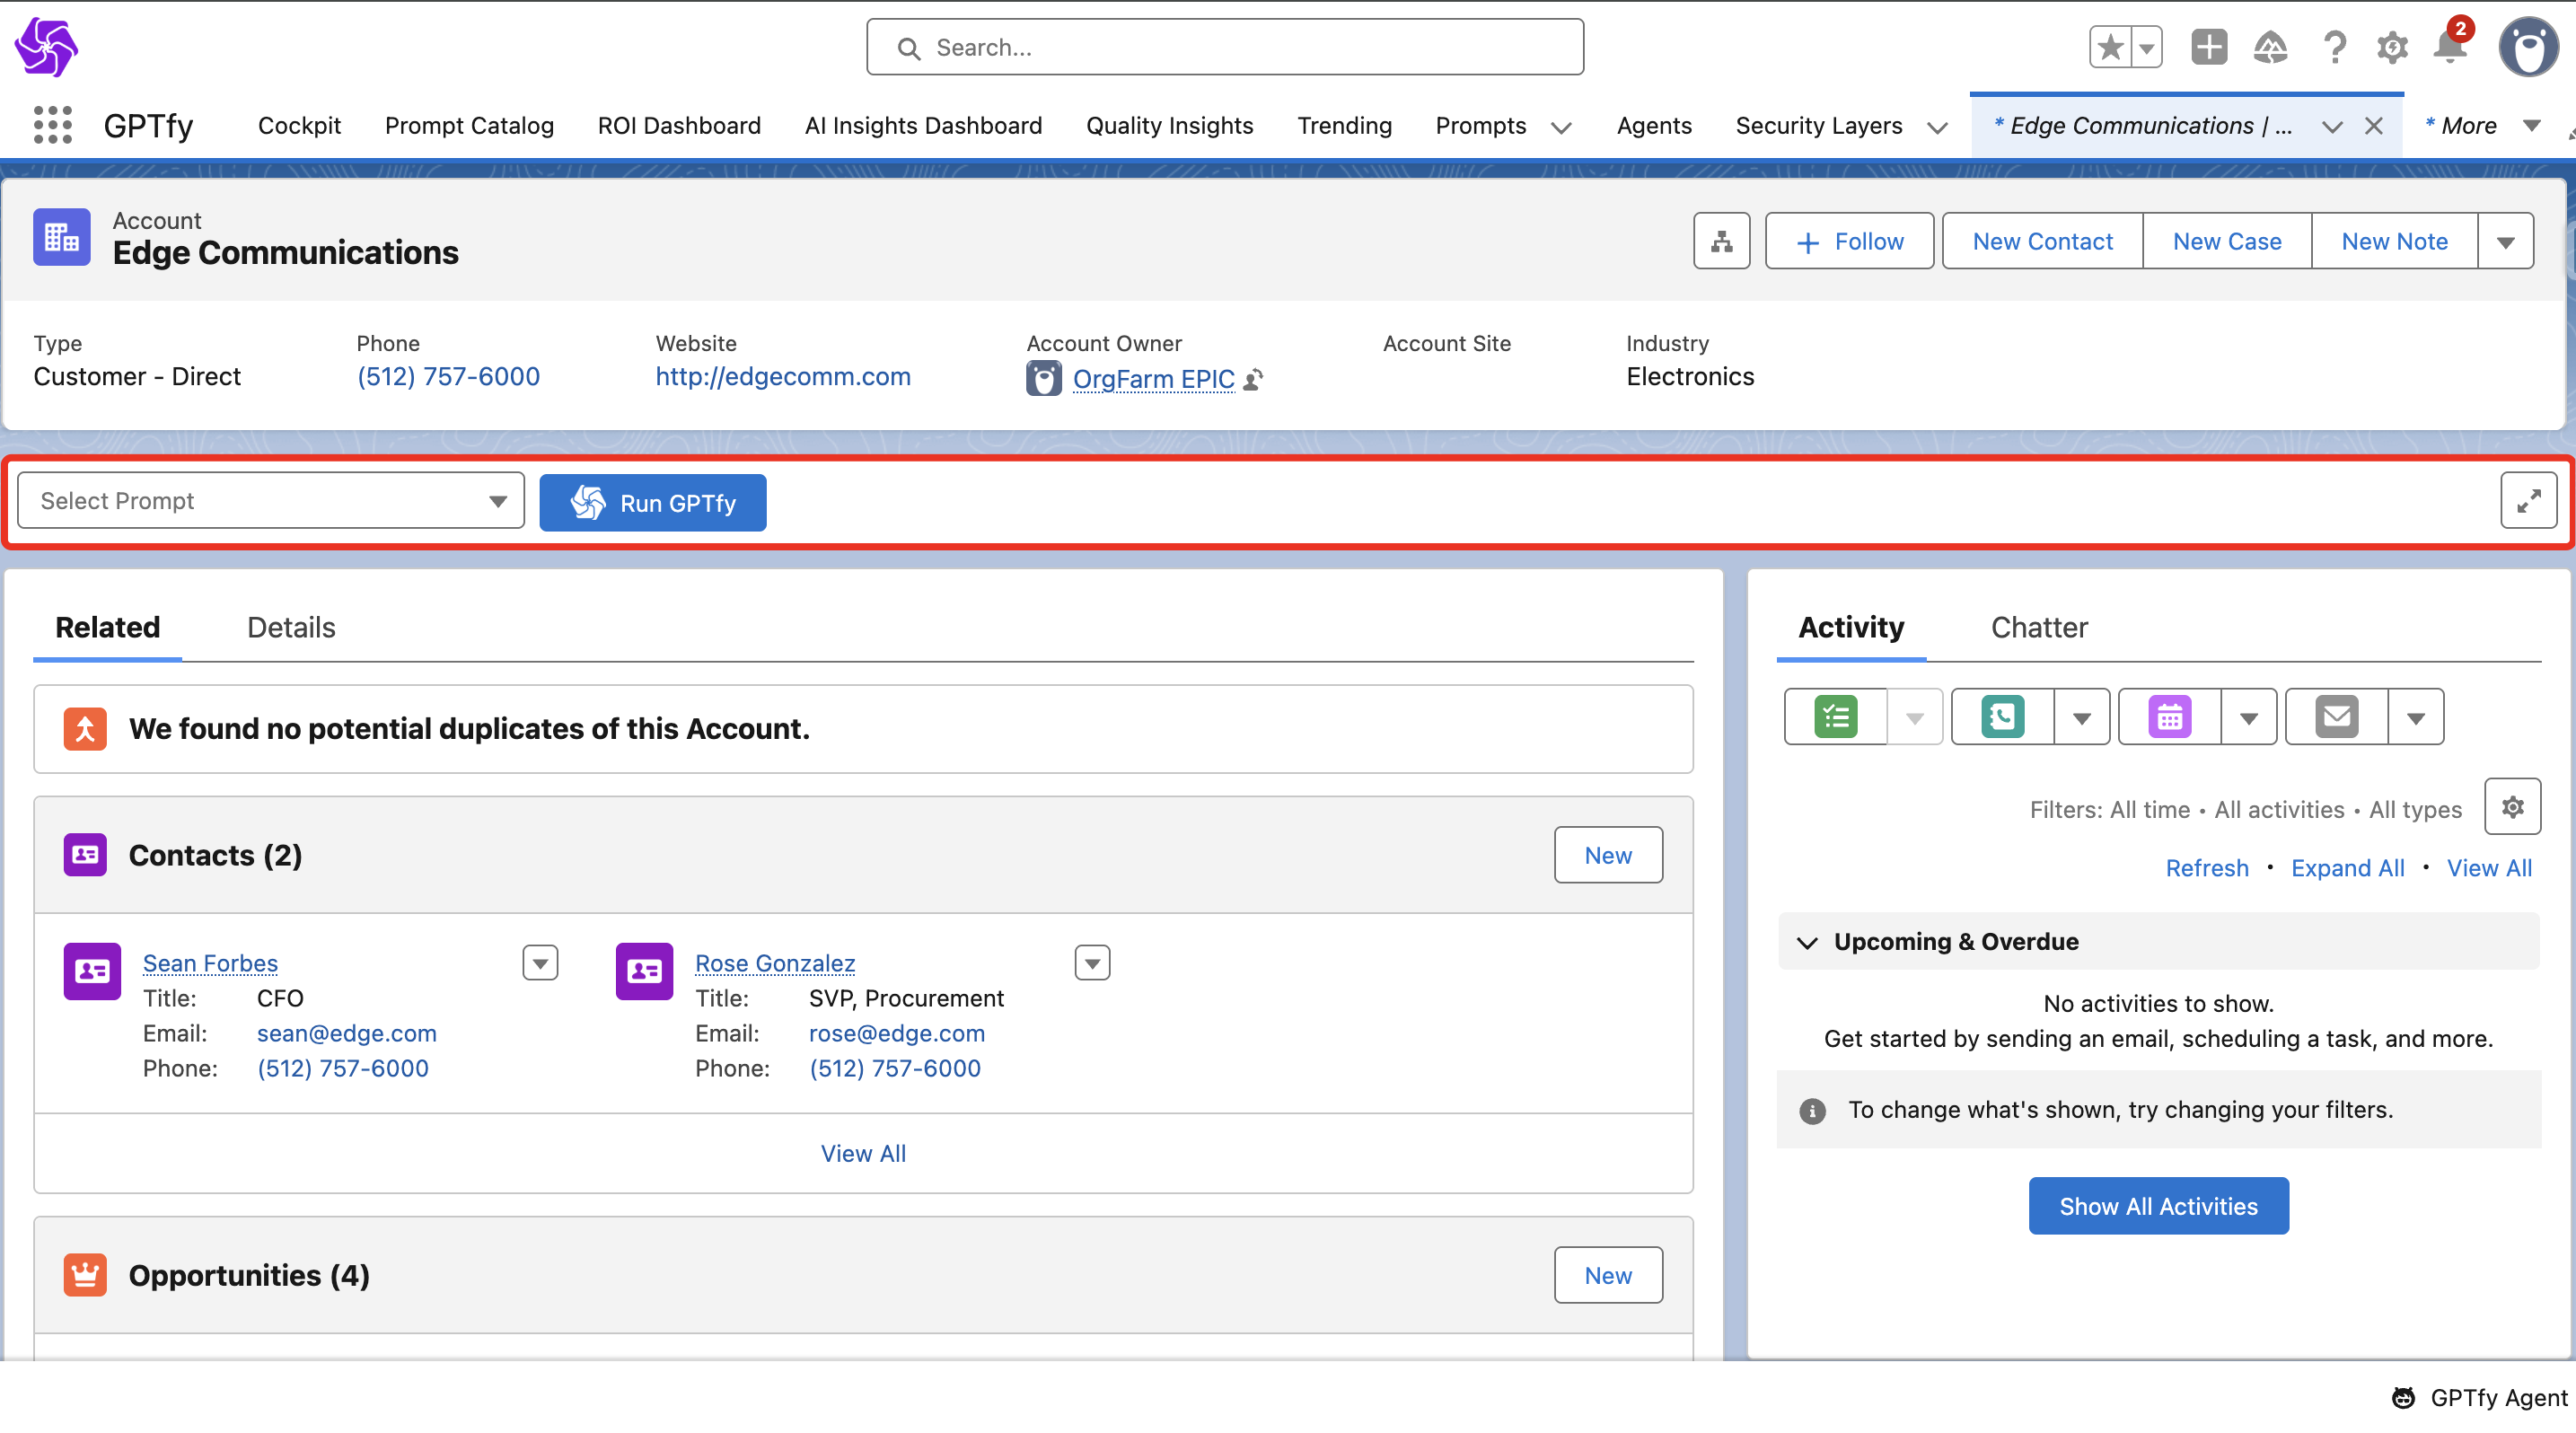
Step 5: Confirm the Setup
- Exit the editor by clicking the back arrow.
- Open a record page for the object you edited.
- You should now see the GPTfy Console at the top of the record's details section.
We’ve added a magnifying glass icon to improve response readability. Here’s how it works:
Opens a full-screen modal when clicked
- Displays the entire prompt response in a dynamic layout
- The modal adjusts its height to fit the content
- Scrollbars only appear if the response exceeds screen height
- A close button in the footer lets you exit the modal easily
With the GPTfy Console live on your Lightning Record Page, your users can now:
- Trigger AI-powered prompts directly within Salesforce
- Generate summaries, tasks, or next steps without leaving the record
- Reduce manual effort and improve response times